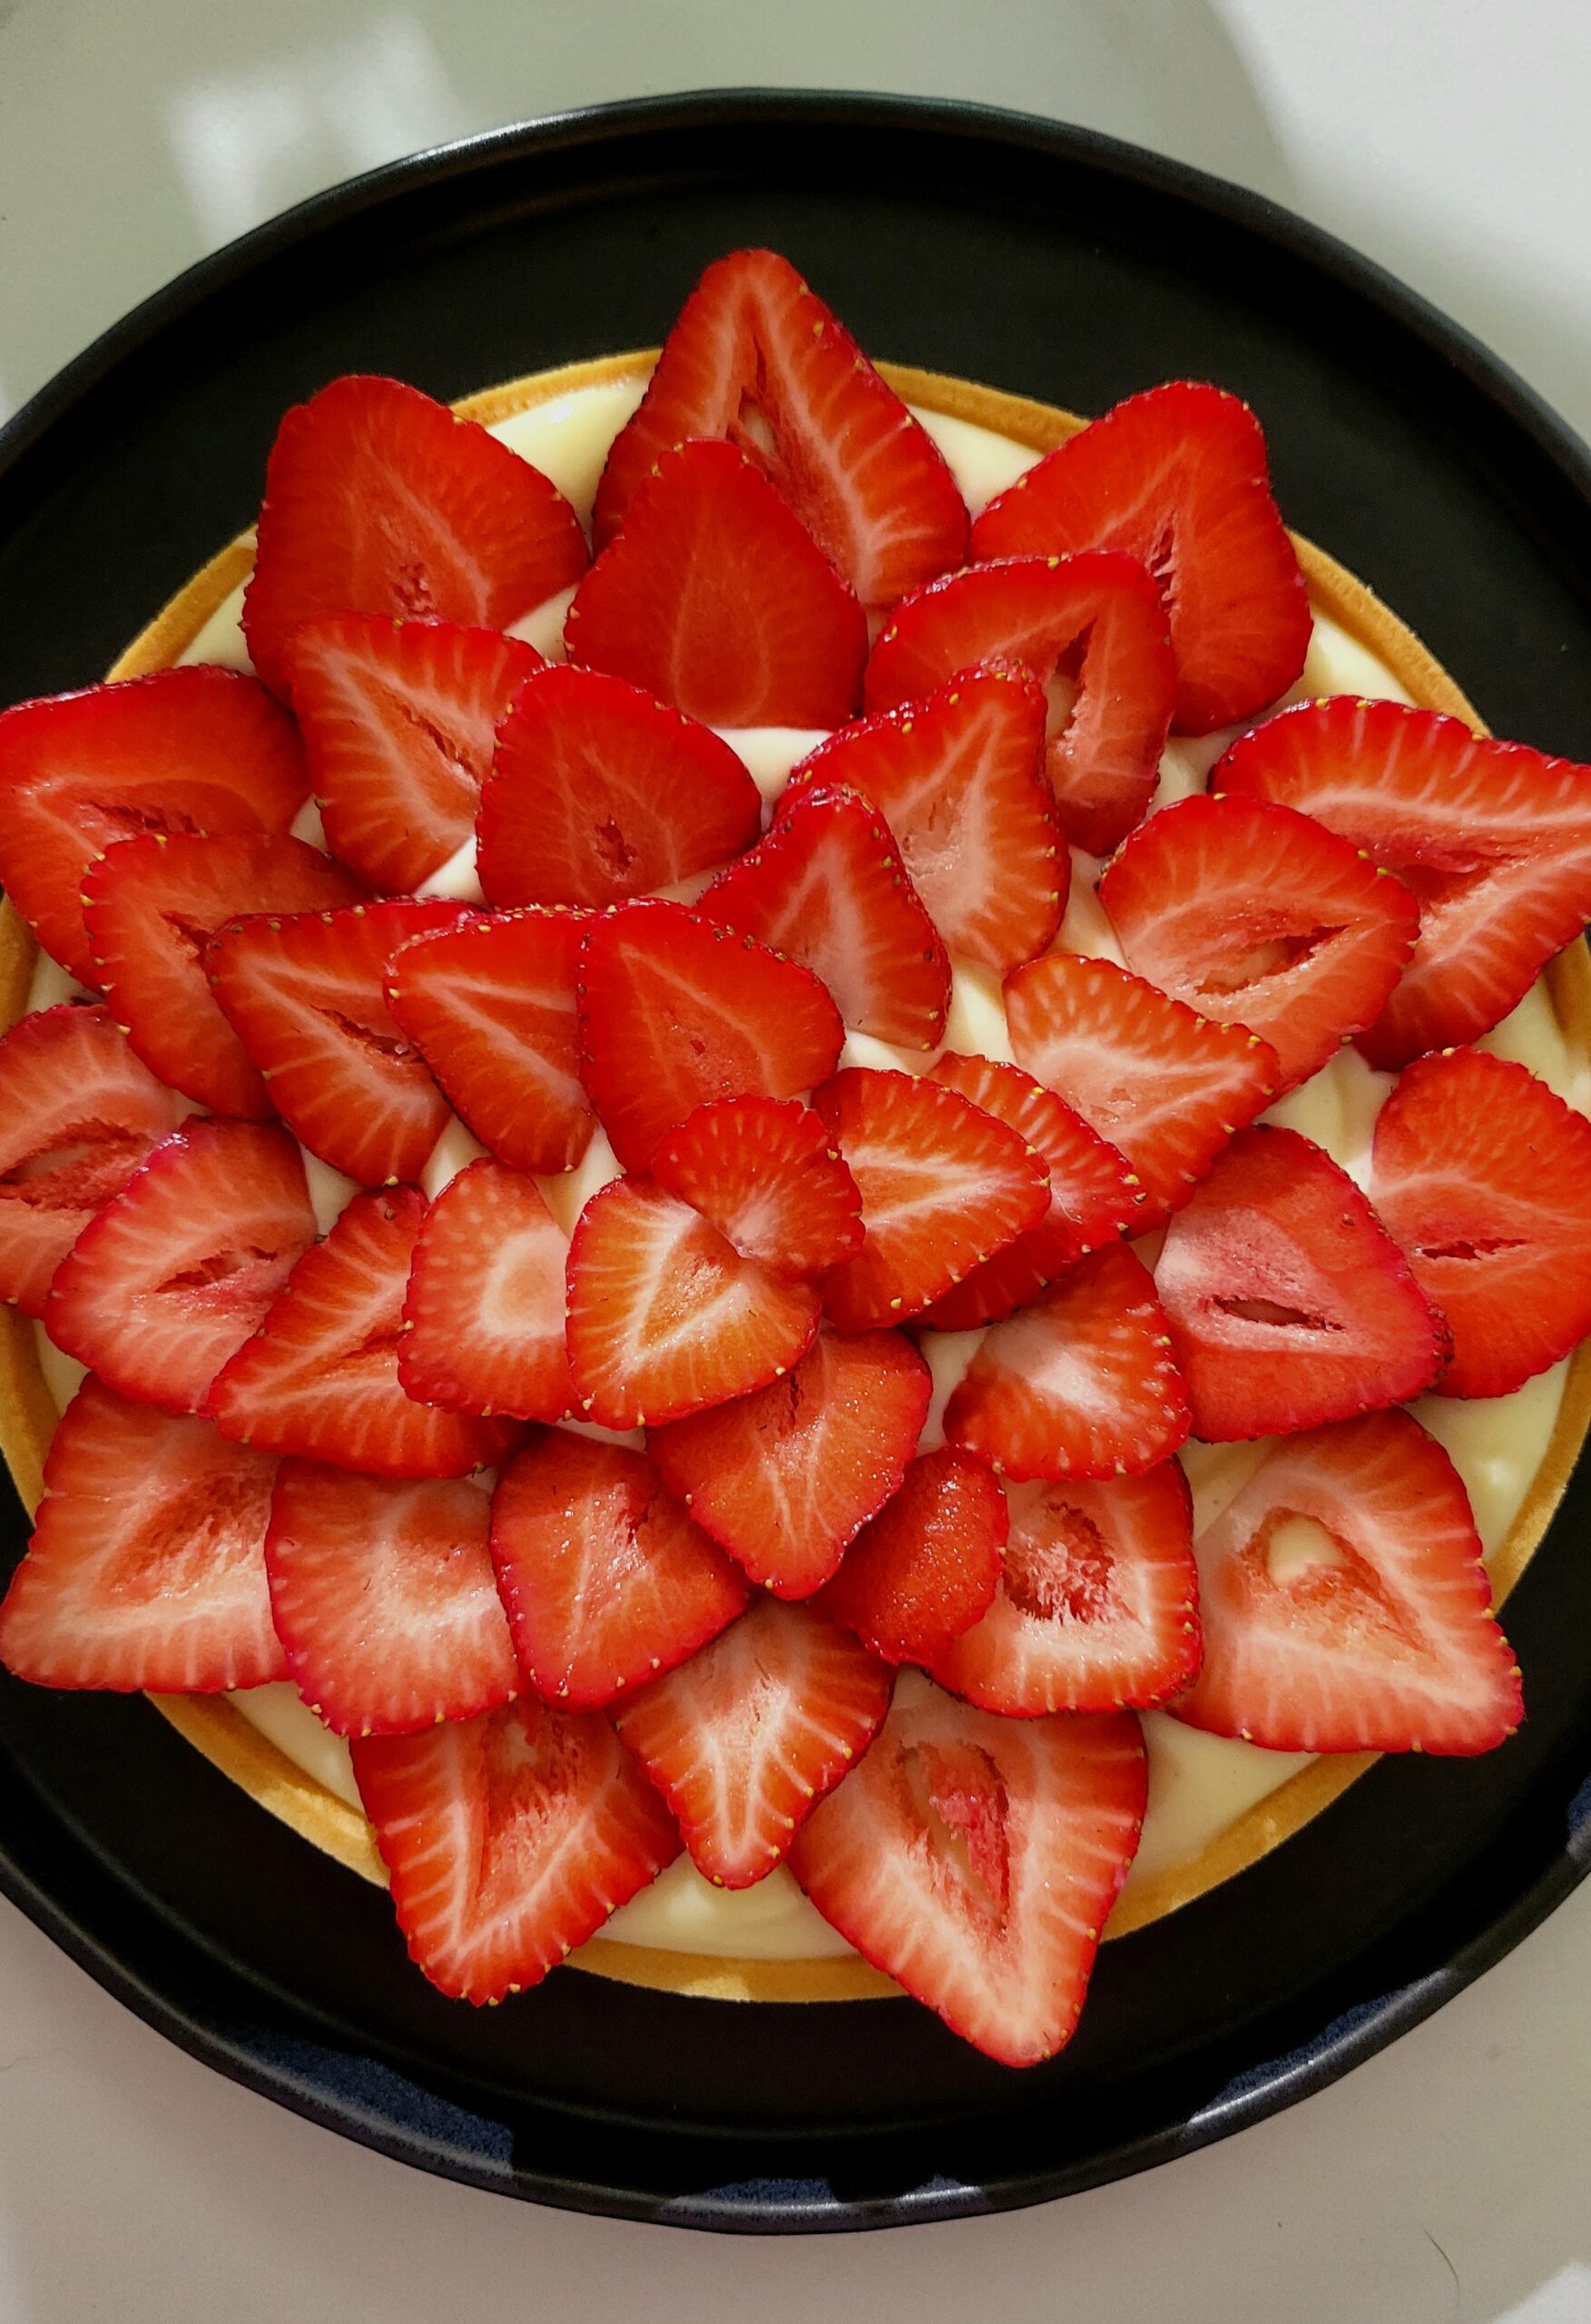
This is hands down my favourite dessert from childhood. A crisp buttery shell filled with vanilla pastry cream, topped with fresh strawberries and a thick glossy glaze. It’s simply *chefs kiss*.
It can pretty much all be made ahead of time and assembled the day of, so it’s perfect for any entertaining.
I’ve included the method for using both a perforated tart ring which I used, but also for a regular tart pan, for those of you who don’t stock their kitchen pretending they’re a french pastry chef.

RECIPE
Tartes Aux Fraise
Ingredients
Pâte Sucrée (Pastry Crust)
- 225g all-purpose flour
- 1 egg
- 127g butter, softened
- 50g icing sugar
- 1/2 tsp salt
Crème Pâtissière (Pastry Cream)
- 480ml whole milk
- 100g granulated sugar
- 1 tsp vanilla essence
- 2 large eggs
- 32g cornstarch
- 60g butter
Topping
- 600g strawberries
Glaze
- 1/3 cup strawberry or apricot jam
- 1 tbsp water
Instructions
Pastry Crust
Prepare the Dough: Beat the softened butter and icing sugar in a bowl or stand mixer until creamy. Add the egg, scraping down the sides of the bowl, and mix until fully combined.
Mix the Dough: Add the flour and salt, mixing on low speed until the dough just comes together. If the dough appears dry, add 1 tablespoon of cream or milk and mix until combined.
Chill the Dough: Shape the dough into a round disk, wrap in plastic wrap, and chill for at least an hour, or freeze for later use. When ready to bake, let the dough soften slightly so it’s still cool but manageable to roll out.
Roll and Shape: Roll the dough out to about 3-5mm thick.
- For a Regular Fluted Tart Pan: Line a 9-inch tart pan, trim the top by running a knife around the edge, and prick the bottom with a fork. Refrigerate for at least 30 minutes.
For a Perforated Tart Ring: Cut out the bottom of your tart by pressing the ring onto the dough. Cut strips the a bit taller than the height of your tart ring (you can re roll the dough if you need to here), place round the edges of the rings and gently press into the edges and gently seal to the bottom to the tart. Freeze or refrigerate until firm, about 30 minutes.
Place on a perforated lined (or alternatively parchment lined) baking tray and place in the freezer or the fridge until firm, at least 30mins.
Blind Bake: Preheat the oven to 350°F (175°C).
- For a Regular Fluted Tart Pan: Line the tart crust with parchment paper and baking weights. Bake for 20 minutes, remove the weights, and bake for an additional 5-10 minutes until the crust is golden brown. Cool completely before filling.
For a Perforated Tart Ring
Prick the bottom of the tart crust with a fork. Bake the tart shell for about 20mins till the crust just starts turning golden brown. Allow to cool before transferring to a cooling rack after 10mins. Let cool completely. The shell will keep, well wrapped in the fridge for a week, or the freezer for a month.
Crème Pâtissière
Mix Eggs and Cornstarch: Whisk together the eggs and cornstarch in a bowl until pale and fluffy.
Heat Milk: In a saucepan, heat the milk with the vanilla essence over medium heat until just under a boil.
Temper the Eggs: Gradually pour 1/3 of the hot milk into the egg mixture, whisking continuously. Return this mixture to the saucepan with the remaining milk while whisking.
Cook the Cream: Cook over medium heat, whisking constantly, for about 5 minutes until the cream thickens. Allow it to bubble briefly, then whisk for an additional minute to deactivate egg enzymes.
Finish the Cream: Remove from heat, sieve the crème pâtissière, and whisk in the butter until melted. Cover with plastic wrap touching the surface and refrigerate until cold.
Assembly
Fill the Tart: Once the crème pâtissière is chilled, whisk it until smooth and pipe or spoon it into the cooled pastry crust.
Add Strawberries: Slice the strawberries and arrange them on top of the crème pâtissière in a decorative pattern.
Glaze: Heat the jam with 1 tablespoon of water until runny. Strain the mixture and brush it over the strawberries for a glossy finish.

